On to the last bit of the binding:

This is just a strip of material folded/ironed in half, stitched on the front through all three layers of top/wadding/base. The bottom two layers are now trimmed to match the top

and the binding is folded round the cut edge such that it overlaps the original stitching that secured the binding strip on. Then I just "stitch in the ditch" along the top edge and the binding is secured at the back.
So all four binding strips are on:

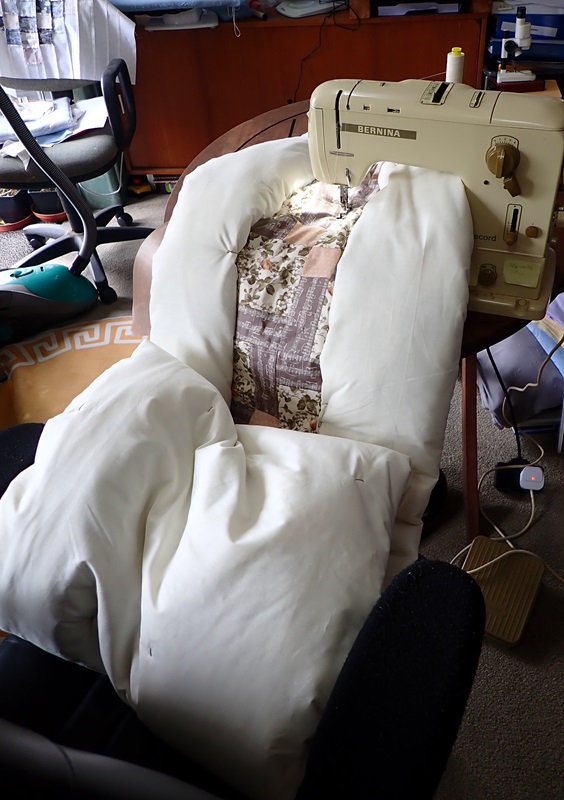
I have zillions of ends to stitch in from the quilting which I have been told I should have done as I went along

then I have also been told that I need to add more quilting as the stitching along squares are too far apart to prevent the wadding moving. I am considering hand quilting in these bits as I am going to have to stitch in the ends and the stitching lengths are going to be about 6" long each, so it could be as quick by hand and no one will notice

I have learnt many things along the way on this bit:
There is no such thing as too many pins when quilting. = I have just ordered another 300 bent quilting safety pins.
Pins should be left open in their box so you have to mind your fingers as you pick them out. Closing the pins delays matters

Quilting clips are rather handy, not only for holding the pieces together during the patch work but also for holding on the binding. They are just the right depth for this binding so I could see if the fold over was too short/long.
Wool wadding likes to snatch on the sewing machine foot
Back to my fairy....
Jo