Mobile phone or MP3 player pouch tutorial
You will need:
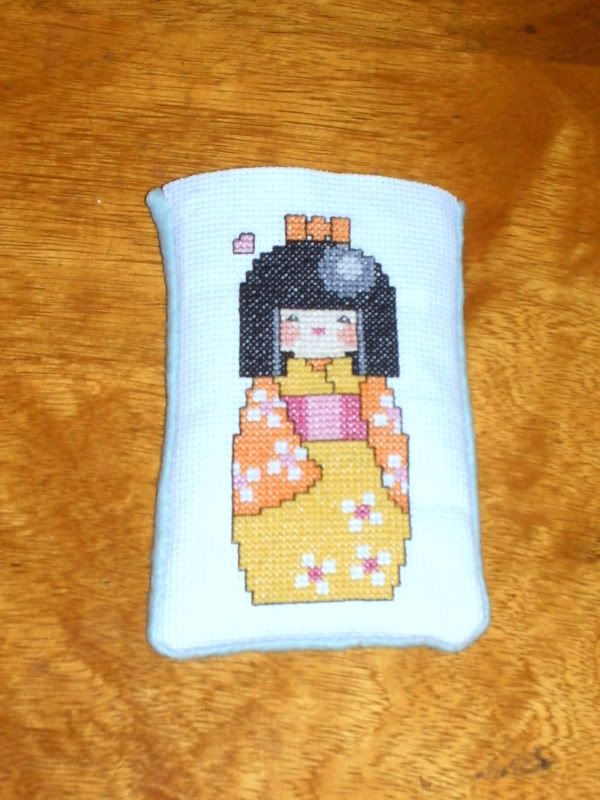
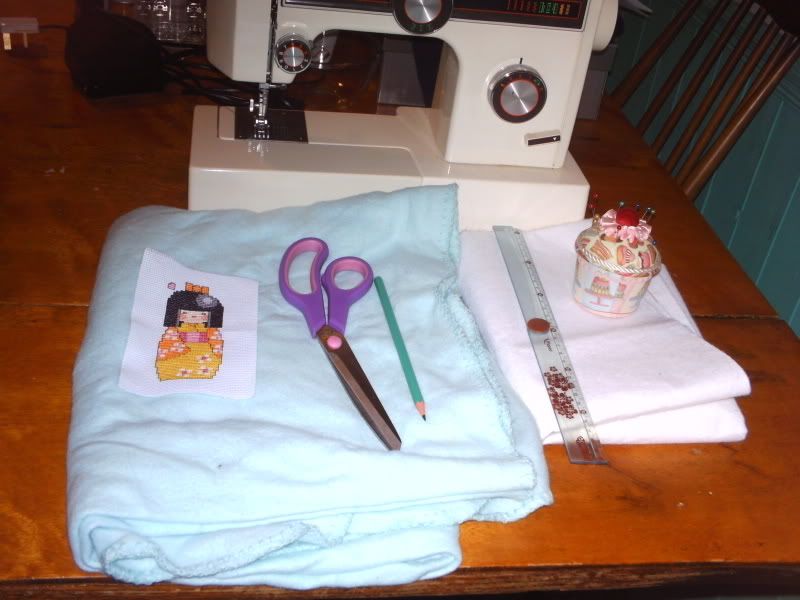
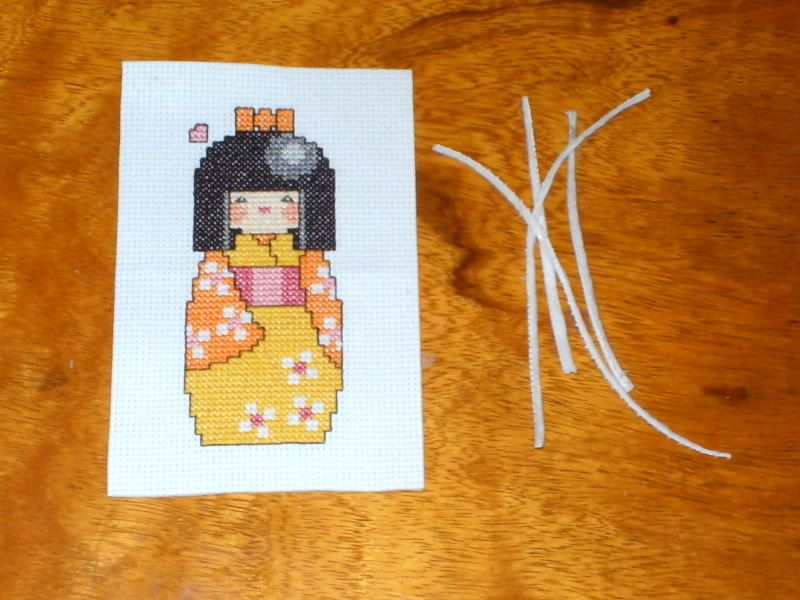
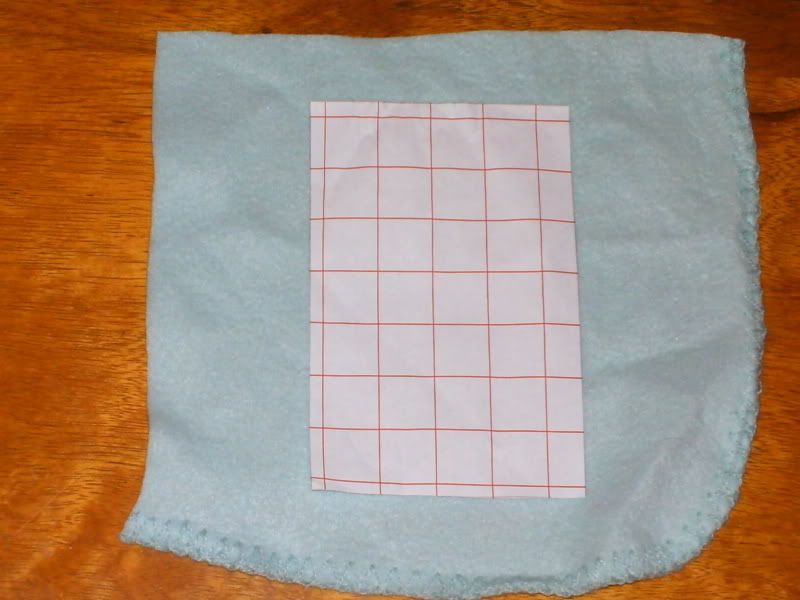
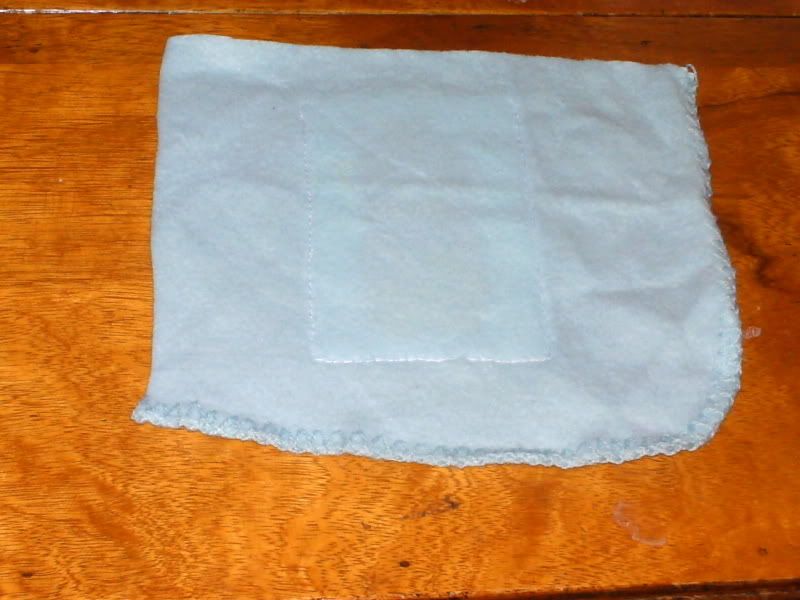
Your completed cross stitch
Self-adhesive felt
Fabric for the back of the pouch
Pins - these will get adhesive on them and I actually threw mine away when I was done, so bear that in mind
Sewing needle and thread - as above, your sewing needle will get adhesive on it and may have to be disposed of when you finish.
Fabric scissors
Pencil
Ruler
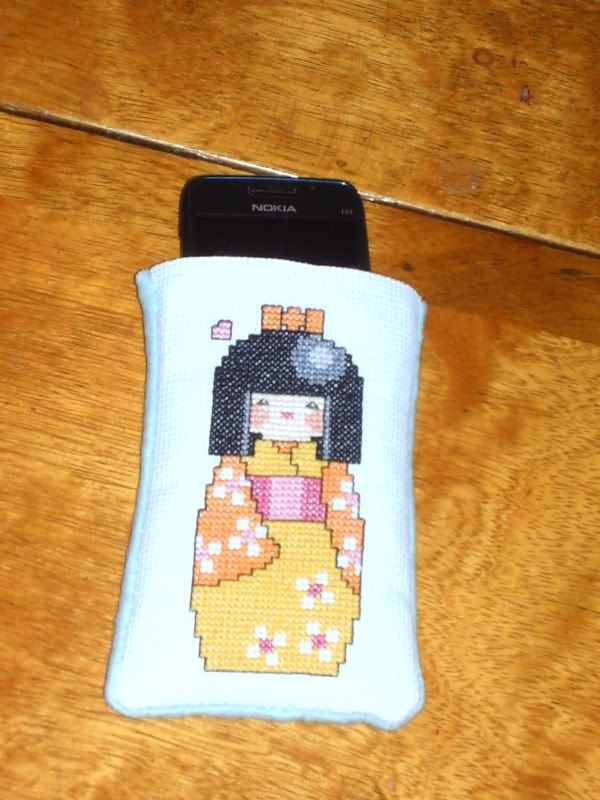
Your phone or MP3 player
1 Wash and iron your cross stitch as you normally would to make sure it’s in pristine condition before you begin.

2 With the backing paper in place, cut the felt to the size of the cross stitch. The simplest way to do this is to lay the cross stitch on top of the felt and use your pencil and ruler to draw nice straight lines on the backing paper following the edges of your stitching
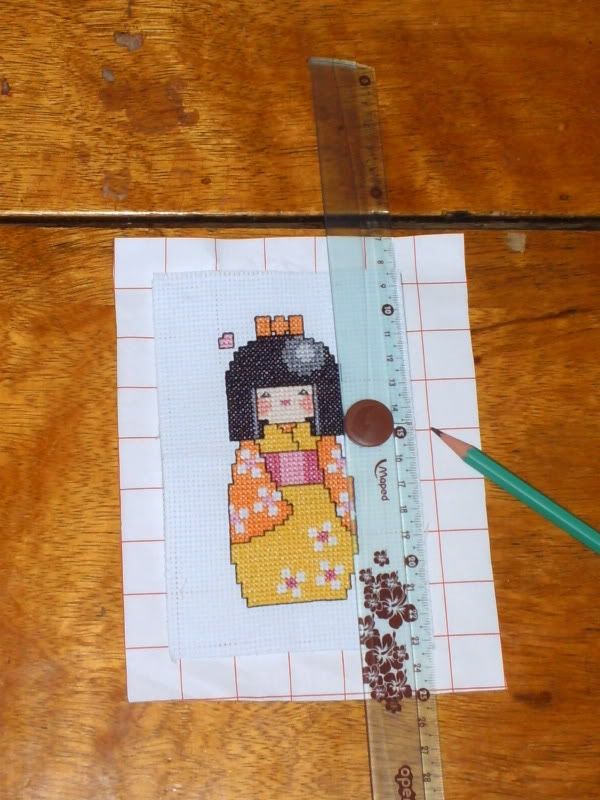
then cut it out with your scissors.
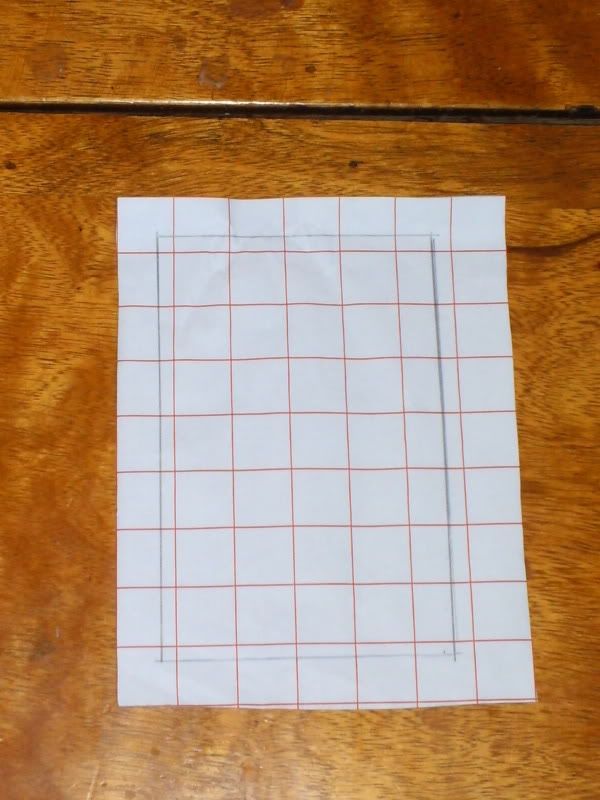
Believe me when I say it’s so much easier to cut the felt with the backing paper still attached!
3 Place your cross stitch face-down on the table. Trust me, it will avoid problems in a moment. Peel the backing paper off the felt (it’s a bit tricky to get started but once you’ve got your initial corner up it comes away easily).
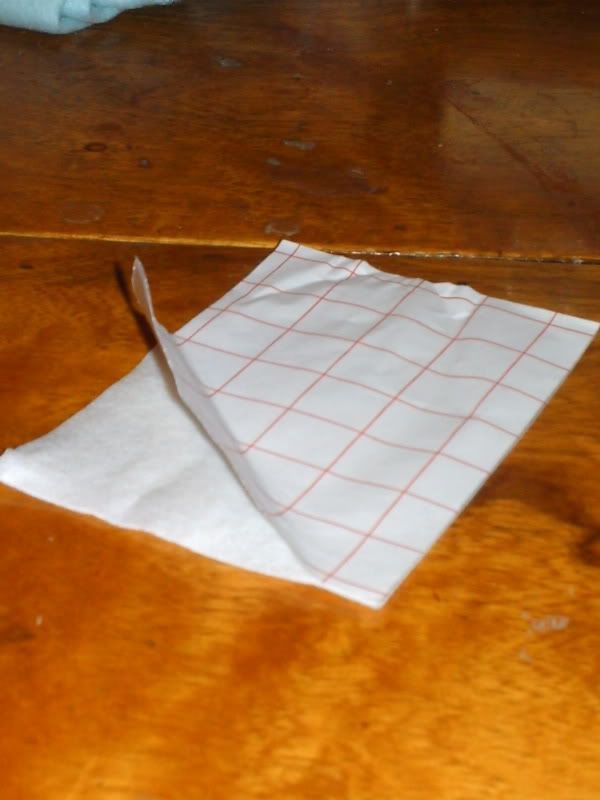
Lay the sticky side of the felt on the back of the cross stitch and press gently to make sure it’s all stuck as it should.
See, if you had your cross stitch face-up, you might’ve just stuck the wrong side and that would be unfortunate!
4 Trim the edges of your stitching to make them nice and straight if needed
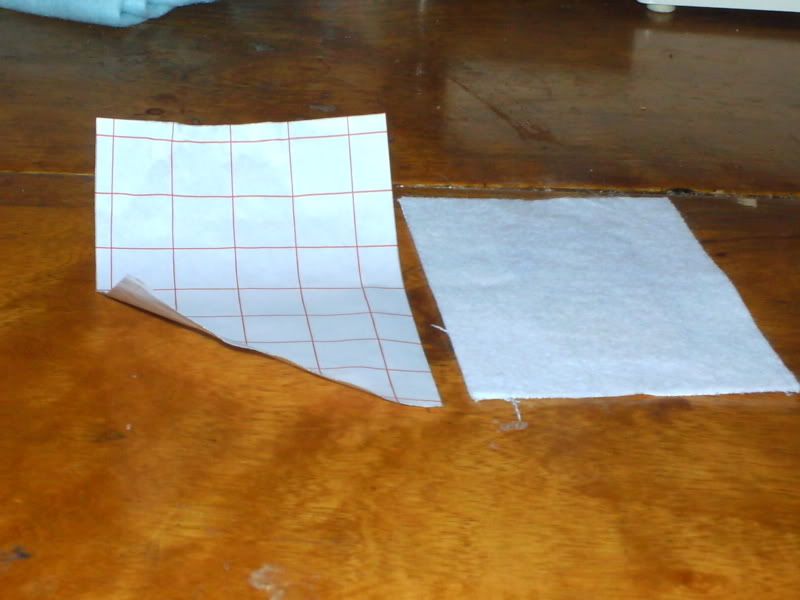
5 Cut out a piece of fabric for the back of the pouch at least the size of your stitching. You can use the discarded backing paper from the felt to measure the size and make sure it’s at least large enough.
6 Pin the stitching and back fabric together with wrong sides facing.
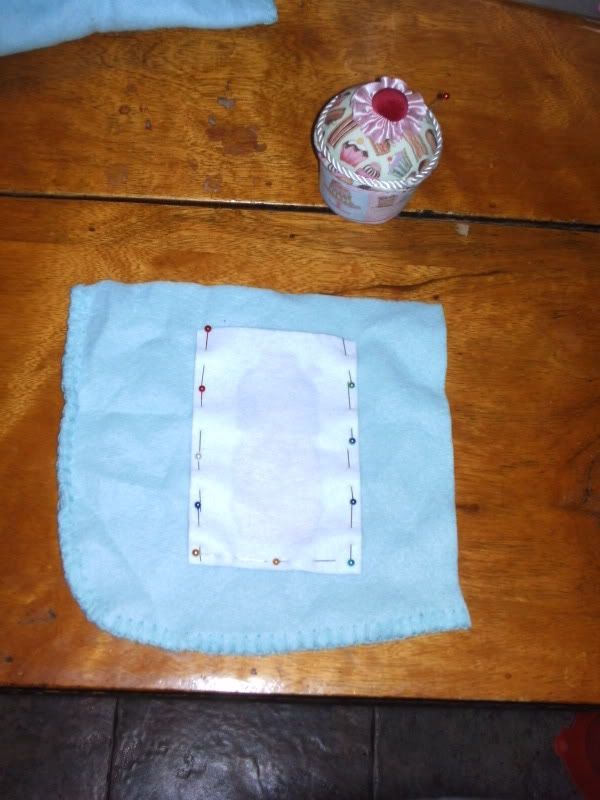
Sewing it together will be much easier if you pin it first. Once again, a mistake I have regretted making in the past! Don’t forget to leave an opening at the top of the stitching, which will become the top of the pouch, and make sure before you go further that your phone or MP3 player can fit easily into the pinned shape.
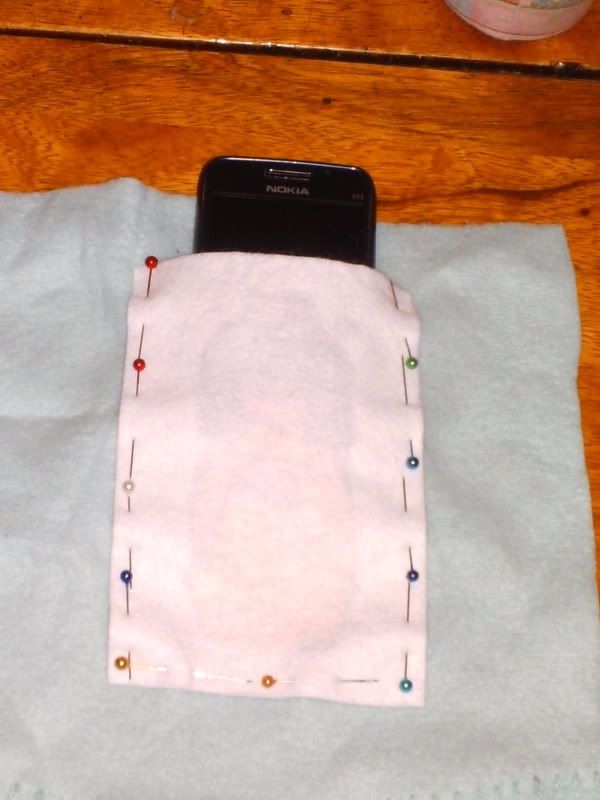
7 Sew the three sides shut. You’ll have to do this by hand. The adhesive on the felt will stick to your pins, and your needle, and made a bit of a mess of my sewing machine needle before I realised that hand sewing was going to be the way to go. Sew pretty close to the edge because otherwise you’re just going to have a gigantic seam inside the pouch, as well as possibly covering part of your beautiful cross stitch, and you won't have much space left for your phone or MP3. Just exercise a bit of common sense here.
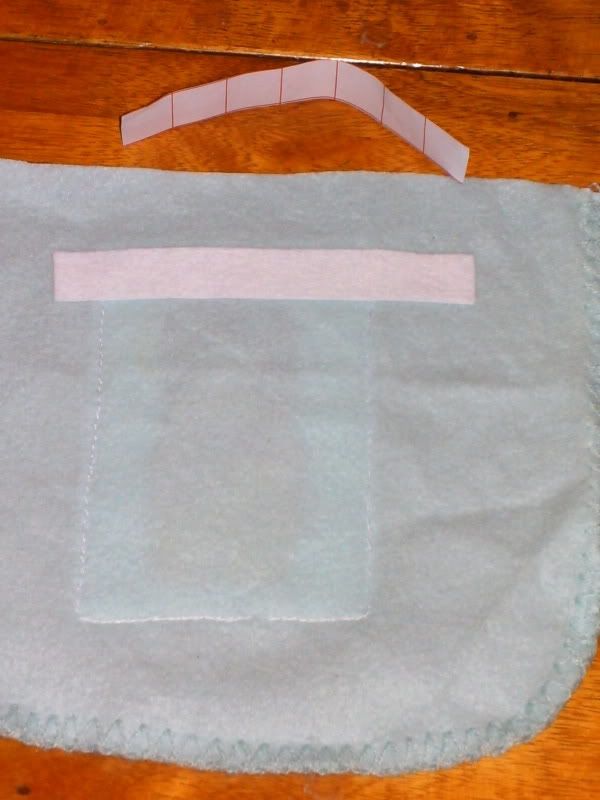
8 If you’ve used a soft fabric like I did, you might want to consider sticking a strip of felt to the top edge of it to give it a little more stiffness. This is a matter of personal taste.
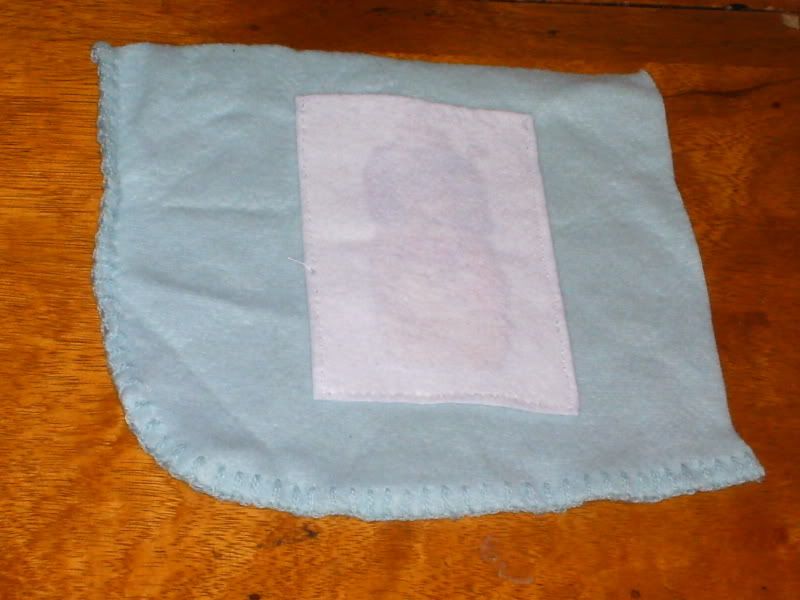
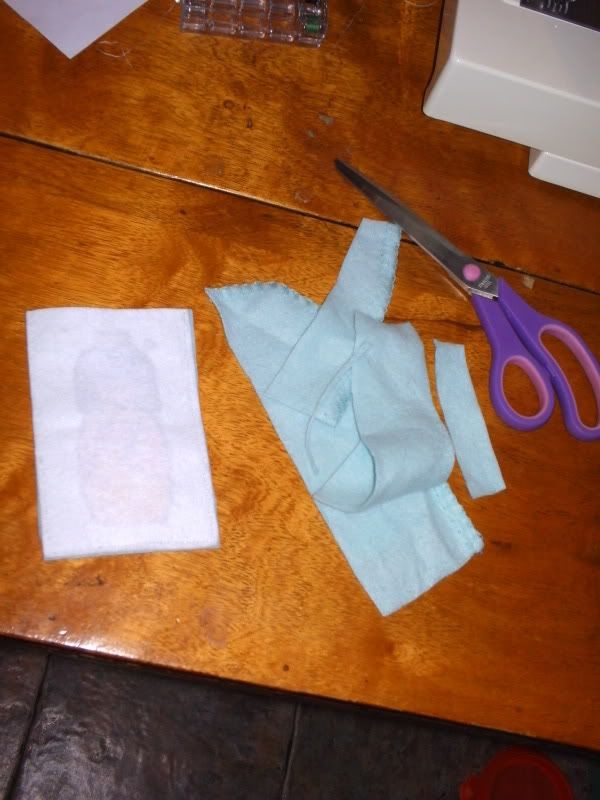
9 Trim away the excess back fabric. Be careful not to cut any of your stitches.
10 Turn the whole thing right side out (this might be a little tricky if you’ve gone for a smaller design, try using a knitting needle or chopstick or something similar to poke out the bottom corners and the rest will follow pretty naturally) and start showing off your funky new accessory!