A few pics posted in SAL:
http://www.crossstitchforum.com/viewtop ... =6&t=20457
How to Erase Grid Lines?
Moderators: rcperryls, Rose, karen4bells, Serinde, Alex
-
Slimmchants

- Posts: 10
- Joined: Sat Mar 30, 2013 12:10 pm
- Location: Ontario, Canada
-
coffee_freak

- Posts: 10312
- Joined: Mon Jan 15, 2007 2:14 pm
- Location: maryland,usa
- Contact:
Re: How to Erase Grid Lines?
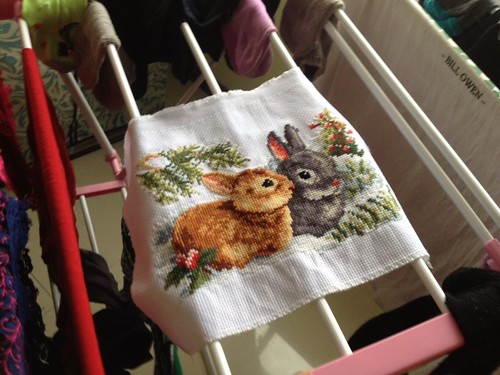
wow I've never seen them stamped like that! and premarked w/ grid lines..that would be awesome! makes me think..I bought a chart from a stand in the mall..the kit is from an Asian country...not sure which..Korea,Japan,etc. Now I want to go open it see if it's stamped and gridded..hmmm..
anyway..this looks great and your progress is awesome!
anyway..this looks great and your progress is awesome!
If you get a comment of a  ,I must be holding my
http://coffeecupcakescrossstitch.blogspot.com/
skype:coffeecupcakescrossstitch
WIP:
Joan Elliot Spring Fairy
Cupcakes
Snuggle Up
2012 HD's
Bohemia
Fairy Friend
http://coffeecupcakescrossstitch.blogspot.com/
skype:coffeecupcakescrossstitch
WIP:
Joan Elliot Spring Fairy
Cupcakes
Snuggle Up
2012 HD's
Bohemia
Fairy Friend
Re: How to Erase Grid Lines?
Welcome to the forum. Looks like a really cool design. The stamping would have terrified me. This forum has a wealth of information and everyone here is so helpful. Looking forward to your progress.

Re: How to Erase Grid Lines?
Firstly, I came across this forum with the exact same problem. I am an expat working in China and thought I would pick up a small cross stitch. When I got home I found that my fabric was marked with the exact same grid lines. I was quite disappointed as I had never seen such a method of gridding before!
Originally I thought that as I stitched the colours would be hidden behind the thread. This was not the case as I soon came to realise!
Once I finished the stitching I soaked the project in quite warm water with a little bit of fabric softener mixed in. I left it for about 30 minutes and most of the ink had faded away! After a little delicate rubbing and moving the pattern around the ink completely disappeared. After the first cycle I soaked the pattern again, this time with clean water. It worked like a charm!!
This type of stitching certainly is easier to work with and time consuming. I was able to stitch and read a book because I didn't have to focus on where to place the stitches. I also completed it in half the time that I normally would. I did feel like I was cheating though. Having the print did take a lot of the fun out of completing the job. I would reccomend this type of stitching to those who are new to the art or for kids!
I will post some photos up when I work out how to... (Sorry, I'm new here!)
Good luck with your beautiful design! I would love to see it completed.
Maddy xx