I've seen a LOT of tutorials on how to frame cross-stitch designs, but something still doesn't sit right with me. I'm not sure how the BACK of the frame is supposed to look once it is finished framing (I know, it seems like a silly question but I need to know!!)
I'm deciding to frame my designs in frames with glass because I live with a smoker and surely everything I put up would turn yellow in a heartbeat. I THINK a lot of people leave the folds of the design exposed on the back of the frame (is that right?) I'm kind of hesitant about that because I'm afraid they will just get super discolored and in case I ever want to reframe it in the future, the edges will be bright yellow.
I also don't understand how it fits into the frame. The cloth is so thick compared to like, photo paper, and I can barely mush it in there. The best tutorial I found said to use cardboard from a cereal box because it's nice and thin. I have yet to try that, but it seems plausible. But like I said, the cloth itself barely fits in the frame without the cardboard, so I imagine it will be even harder to squeeze in with that.
And finally, I've seen a lot of debate with how you should fold the edges on the back. Some people tape them, but apparently that's bad. Is acid-free tape easy/cheap to find at craft stores? Some people also thread the ends together in a sort of zig-zag, but I don't really want to do that. If I can find acid-free tape, I'd gladly just tape over the edges. I've also noticed some people use brown paper to cover this in the back, so that the back looks neat.
I'm so lost! But I have finished two designs and I desperately want to frame them. Any help will be appreciated. Thank you!
Framing finished designs
Moderators: rcperryls, Rose, karen4bells, Serinde, Alex
-
crosstitcher1
- Posts: 491
- Joined: Sun Jul 22, 2012 8:41 pm
- Contact:
Re: Framing finished designs
I been framing mine in picture frames for gifts for almost 20 years.
My "rule of thumb" is when buying the frame, take the back off, preferably on the floor of the store, that's what I do, and put your thumb on the inside edge. "IF" the upper crest, the bowed edges of the thumbnail, sets from glass to the edge of the frame, then you are safe with putting project in frame. I use this method, as I have found over the years, that you have to compensate for the mounting board and fabric.
As far as doing the backs? I use scrap book tape, found in the scrap book section of Wally World or Micheals. It's double-sided.
Here's how I frame, it might seem "over bearing":
1. Take the glass out of frame and clean "both" sides with window cleaner and paper towel. Hold glass up to light to see any streaks. Make sure you get along the sides.
2. Set glass away from frame.
3. Take ironed project and center,( using your center point on your project, I always use a x for my centers, and "if" center is covered with design, I count from center to edge of design to 2 stitches from the design edge, putting information on my copied chart and put chart with "finished" project til framing, and put the "center" x there when I 1st start the project, and leave the x still on project til time to frame) on the back of the mounting board, before taking paper off, and take a straight pin and find your center of your project, stick pin thru and align project on board and "tap" lightly with end of butter knife, to make a mark of the pin on the mounting board. Making sure project is "centered", "before" taking paper back off, I put glass over project, then the frame.
4. Set aside the project with the pin "still" in the center.
5. Carefully pull the paper backing off the mounting board.
6. Align the pin with the hole it made on the board and adjust project "carefully" over the board, "not" allowing the project to fully "set' on board yet.
7. Starting from "center" of project, I take a sheet of paper towel, and press firmly on the mounting board, from center to top, then center to bottom, then center to right side, and finally from center to left, to get any "air bubbles" from fabric to mounting board.
8. Place project into glassed frame and "adjust" the tension of fabric, if needed, starting from top and gently pull to center, repeat all around.
9. Fold top edge of fabric to top of board, and measure about 1/2" from inner edge of fabric, placement of the tape. Carefully start tape at the top of corner to the other corner. Firmly stretch and press from frame, fabric to the tape line.
10. Repeat for bottom and sides.
11. Put back back on frame.
12. Enjoy your work.
When 1st starting out in framing, just "take your time."
I sew all my projects for the year, starting Jan.1 and end 2nd week of Dec.
Then I set up in my kitchen/dining room, my framing station, Thursday night before I start framing Friday morn. I get up at 4:30 am., and after B/H leaves for work, 5:30 am., I start framing til I get all projects framed. Usually I end around 4 pm.
IMO, there is no greater satisfaction in a "finished" project, in knowing a "well-done" project is really done, when you learn to frame. It makes you feel like "you" had "fully" done all the steps, from start to finish in cross stitching.
HAPPY STITCHING IN STITCHING LAND.
Re: Framing finished designs
I also frame my projects. Sometimes I've been lucky enough to find frames that are deep enough to house the back as well as the board with the fabric around it. The last few I have framed I have also used a mount surround so the back board will definitely not fit. To cover the back I use brown paper doubled over cut slightly bigger than the aperture then use brown framing tape. I don't use adhesive mount board, I lace mine but I'm sure crosstitcher1's explanation will help you. Good luck - it is very satisfying knowing you've done the whole thing from start to finish yourself 
2014 Finishes:
Wedding Sampler
Sepia German Shepherd
WIPs:
Castles in the Air - Parts 1-3 finished
Welsh Alphabet Sampler
Future Projects:
Hardanger Wedding Sampler
Wedding Sampler
Sepia German Shepherd
WIPs:
Castles in the Air - Parts 1-3 finished
Welsh Alphabet Sampler
Future Projects:
Hardanger Wedding Sampler

Re: Framing finished designs
I've used the adhesive mounting board but I haven't found any in the stores lately (or at least in the stores I was in). I have also laced, but my usual method is to mount on foam core and use dressmakers pins.
That said, I also take my stuff in for framing, especially if I can't find the right size or deep enough frame.
That said, I also take my stuff in for framing, especially if I can't find the right size or deep enough frame.
Debby
(main) WIPs
Angel of Love
History of Mythical Creatures
Cache la Poudre
Past Present Forever
Innocent Dreams
(main) WIPs
Angel of Love
History of Mythical Creatures
Cache la Poudre
Past Present Forever
Innocent Dreams
-
NeedleAndFork

- Posts: 980
- Joined: Tue Apr 09, 2013 5:05 am
Re: Framing finished designs
I came across this youtube video recently on how to frame needlework. It's done by a professional framer, so I don't expect any of us home framers to have some of the tools, but there are definately tips we can pick up from it.
http://www.youtube.com/watch?v=gXUe_lYks2A" target="_blank
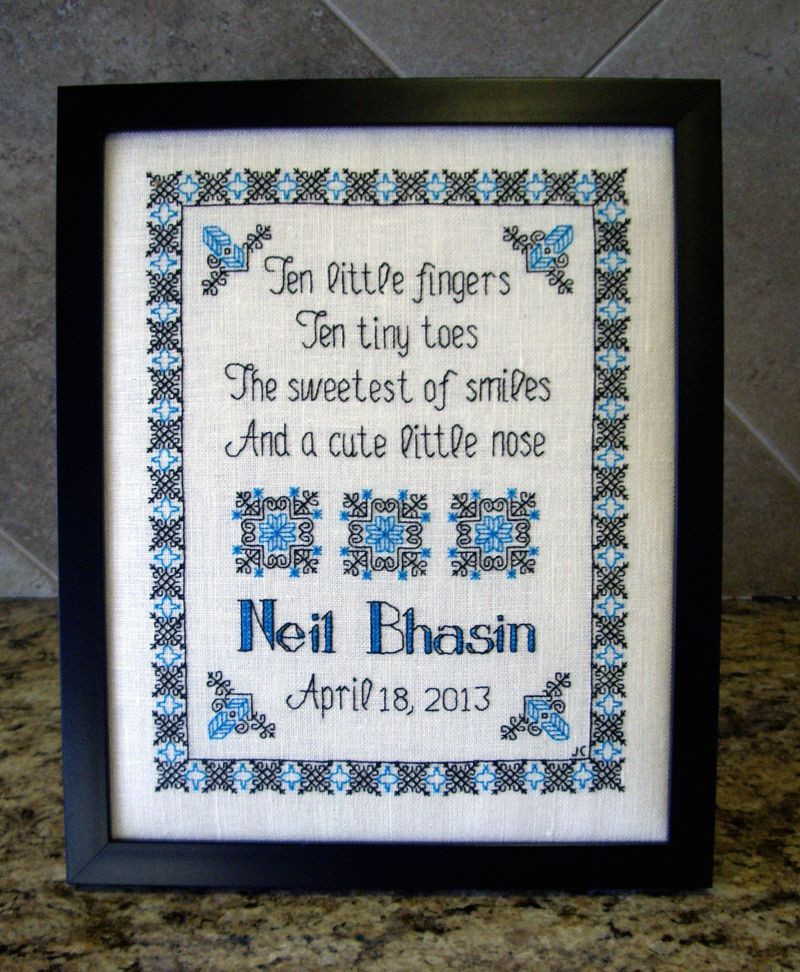
The only item I've framed myself was in a regular 8x10 photo frame I got from Target. I opted to add batting between the needlework and the backing, and left the glass off, and I just barely got the back of the frame back on with all the layers of fabric, batting, and cardboard. This is the end result, and though you can't see it in the picture, the batting made it a little bit puffy, which gave a nice effect. That said, I did it this way because I needed to put it together as a gift, but I knew the recipient would most likely want to get it reframed eventually in a larger frame that matched her decor, with a mat and glass.
http://www.youtube.com/watch?v=gXUe_lYks2A" target="_blank
The only item I've framed myself was in a regular 8x10 photo frame I got from Target. I opted to add batting between the needlework and the backing, and left the glass off, and I just barely got the back of the frame back on with all the layers of fabric, batting, and cardboard. This is the end result, and though you can't see it in the picture, the batting made it a little bit puffy, which gave a nice effect. That said, I did it this way because I needed to put it together as a gift, but I knew the recipient would most likely want to get it reframed eventually in a larger frame that matched her decor, with a mat and glass.

My blog: Obsessed With Thread
My WIPs: Kimono Lantern Mermaid, Rovaris Alphabet Sampler Christmas Ornaments
Participant of: Ornament a Month SAL, Stitch from Stash Challenge
My WIPs: Kimono Lantern Mermaid, Rovaris Alphabet Sampler Christmas Ornaments
Participant of: Ornament a Month SAL, Stitch from Stash Challenge

Re: Framing finished designs
The frame's rabbet depth (the rabbet is the recess on the back inside edge of the frame, into which the artwork fits) determines how thick the contents can be. A rabbit deep enough for the photograph isn't nearly deep enough to accommodate the thickness of the XS and mount board. If your mount board isn't too thick, you can let the backside bulge out a little and cover it with paper.
The video Needleandfork linked was decent. I prefer lacing the back to tacking and I was a bit put off that he laid the glass directly on the stitching. If you don't use a mat, you should use spacers to hold the glass away from the stitching. (If he used spacers, he didn't mention them and I didn't see them.)
Everything that touches the fabric and stitches should be acid-free (which definitely excludes using cardboard from cereal boxes) and I just haven't found any acid-free mats or mounting board at craft or hobby stores. Adhesive board is one of the worst things you can use to mount your stitching. It may look great when you first frame it, but after a few years, the adhesive bleeds through the fabric and makes ugly yellow/brown blotches -- permanently ruining the piece.
The bottom line is, how long do you want the piece to last? If you want it to be an heirloom, you have to spend the money to get good quality, acid-free products and that means shopping at professional art/framing stores and get away from craft and hobby stores. If it only needs to last a few years, take the cheaper shortcuts and use any manner of mount board and adhesive products you have available.
_________________________________________________________
WIP

WIP
Re: Framing finished designs
I agree with Allyn, you need good quality acid free supplies if you want your stitching to last. Here, in Australia, I can buy these either from my local framer or a quality art supply store. The deeper frames are more difficult to get hold of, but they are available, you just need to spend time looking for them. If I find any I usually buy 2 or 3, I know they will get used in time.

Re: Framing finished designs
Allyn, why does the glass have to not touch the stitching? What would happen? Thanks
WIP
1. "Two Yellow Houses" (Little House)
2. "Elizabeth Saville's 1841 Sampler"
1. "Two Yellow Houses" (Little House)
2. "Elizabeth Saville's 1841 Sampler"
-
NeedleAndFork
- Posts: 980
- Joined: Tue Apr 09, 2013 5:05 am
Re: Framing finished designs
A good source for frames is a home decor store such as Kohls/TJ Maxx.. they have all sorts of artwork already framed, and there's always something on clearance. You could easily buy a frame you like and open up the backing to reuse the frame and mat and put your needlework into it.
Thrift stores are another possibility for that.
Thrift stores are another possibility for that.
My blog: Obsessed With Thread
My WIPs: Kimono Lantern Mermaid, Rovaris Alphabet Sampler Christmas Ornaments
Participant of: Ornament a Month SAL, Stitch from Stash Challenge
My WIPs: Kimono Lantern Mermaid, Rovaris Alphabet Sampler Christmas Ornaments
Participant of: Ornament a Month SAL, Stitch from Stash Challenge
Re: Framing finished designs
First, it smooshes the stitches and makes them flat, If the piece is all crosses, it might not seem like a big deal, but if there are specialty stitches that have thickness -- like a Rhodes stitch -- or beads or ribbons, it just wrecks the look. Secondly and more important, with the stitches pressed against the glass, there's no air buffer. That air buffer prevents any moisture -- no matter how minute an amount -- from causing moisture damage and mold growth. Both of these things can ruin a piece of stitching, especially if you didn't use acid-free mount and mat board (and even if you did.)Mrsadm wrote:Allyn, why does the glass have to not touch the stitching? What would happen? Thanks
I've mentioned before that if you want the piece to be an heirloom, you've got to frame it right. I've found that folks who do framing at discount chain stores and craft stores don't know or don't understand the importance of conservation framing. On the other hand, if longevity is not a concern, it doesn't matter.
_________________________________________________________
WIP
WIP
Re: Framing finished designs
Thank you!
WIP
1. "Two Yellow Houses" (Little House)
2. "Elizabeth Saville's 1841 Sampler"
1. "Two Yellow Houses" (Little House)
2. "Elizabeth Saville's 1841 Sampler"