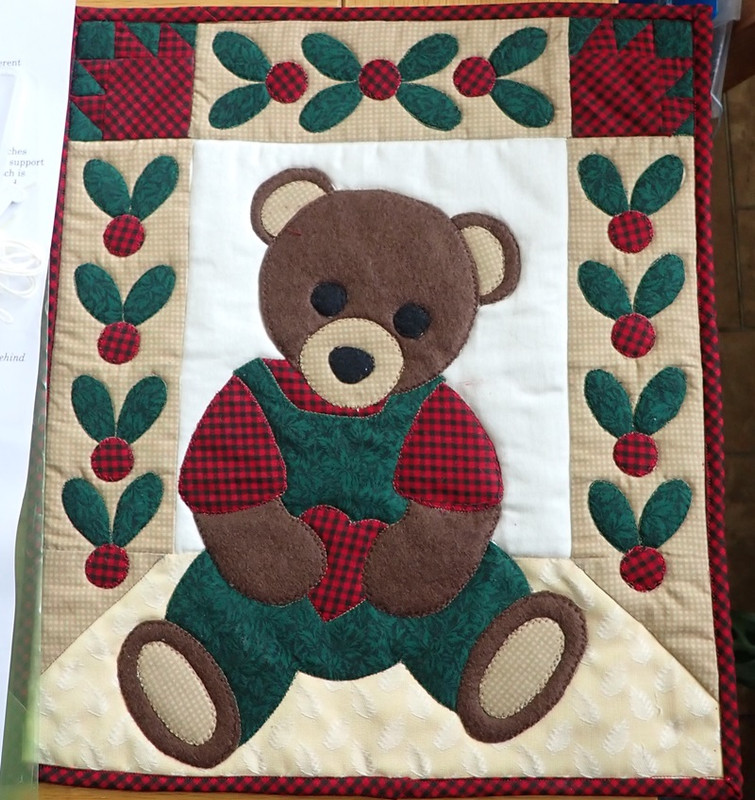
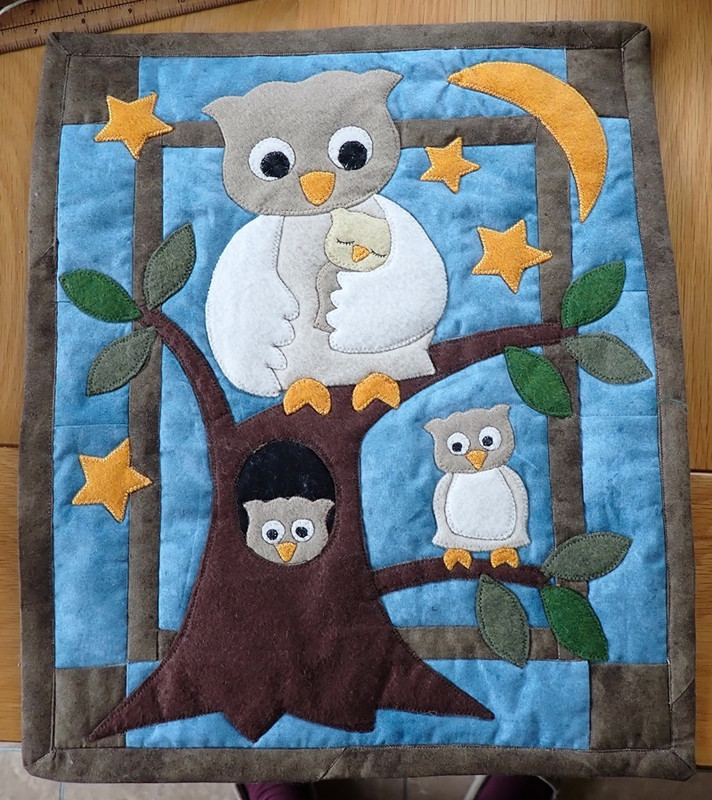
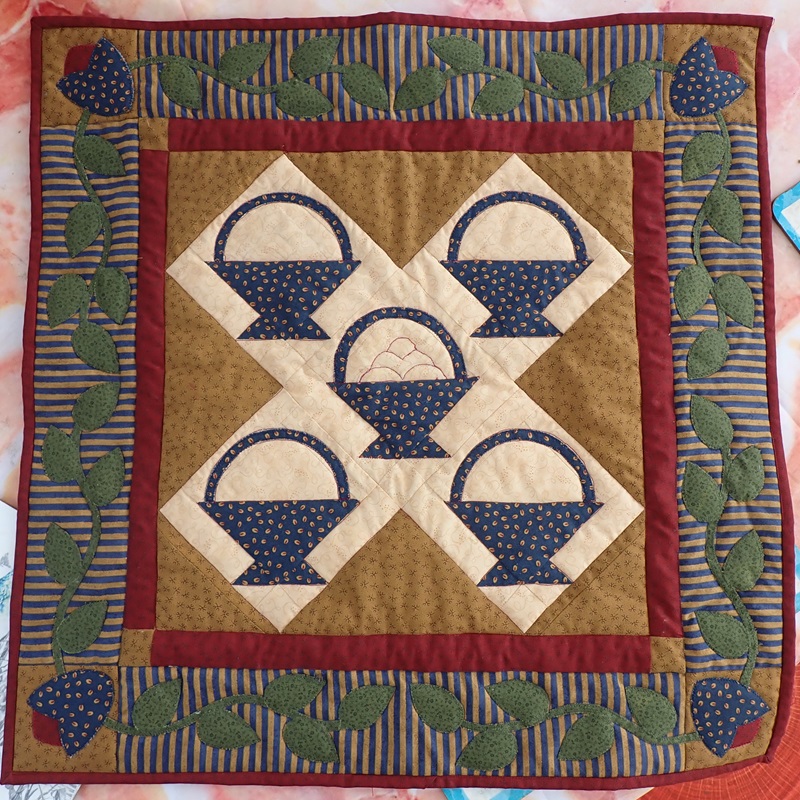
Now for some actual patchwork practice... another kit this time for a table top decoration.
I have read a lot of books, watched some videos and the long and short the best advice was to have a go on some scraps before trying something you want. So some old scrappy bits of sheet and:
The comedy of errors begins

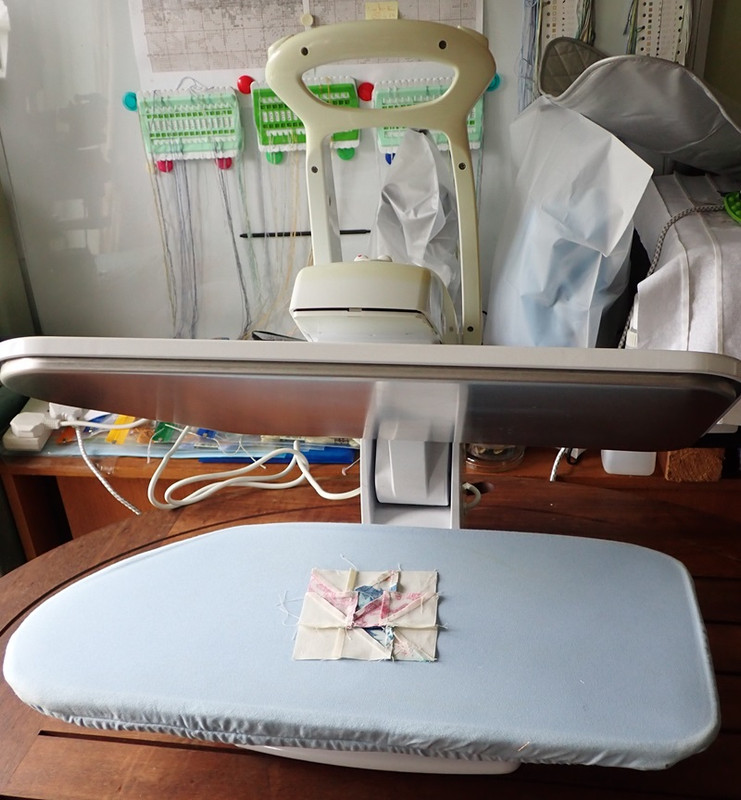
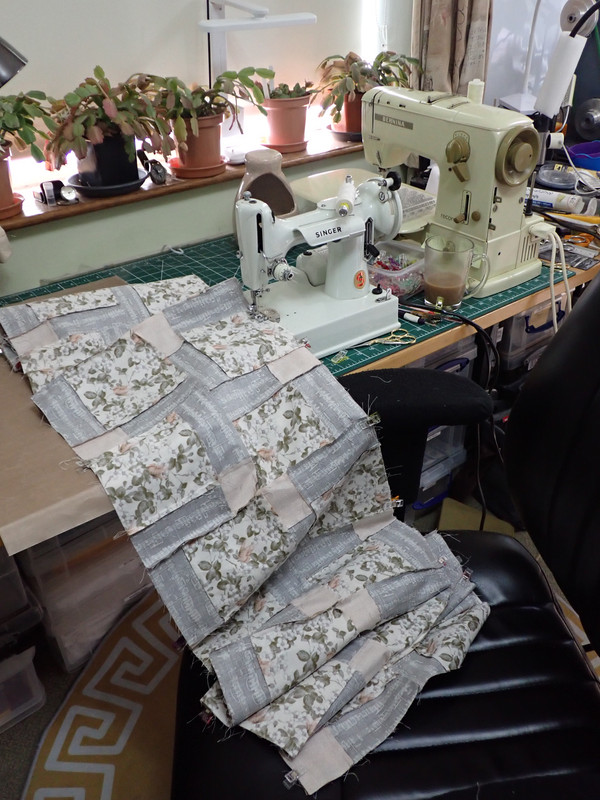
Cutting out accurate shapes armed with a rotary cutter seemed to go ok. The stitching together and pressing back began to be a nightmare. Until after sleeping on it and reading yet another book it dawned on me: I was pressing back the stitch lines using a steam iron and the shapes were stretching an shrinking all over the place. Answer: Iron before you cut/sew and then only fold over and press using fingers, after that possibly dry press with an Iron

Stitching these bits together causes a seam behind, they say fold behind the dark colour. Umm right, you rapidly end up with lumps in the corners where multiple pieces are joined together. There must be a technique to minimise the thickness of all these joins. Remembering we are not allowed to steam iron as that makes it go horribly wrong.
I gave up on these as I realised the material of the old sheets had a mind of their own and were stretching all over the place so I did not know if it was my fault or the fabrics so onward.
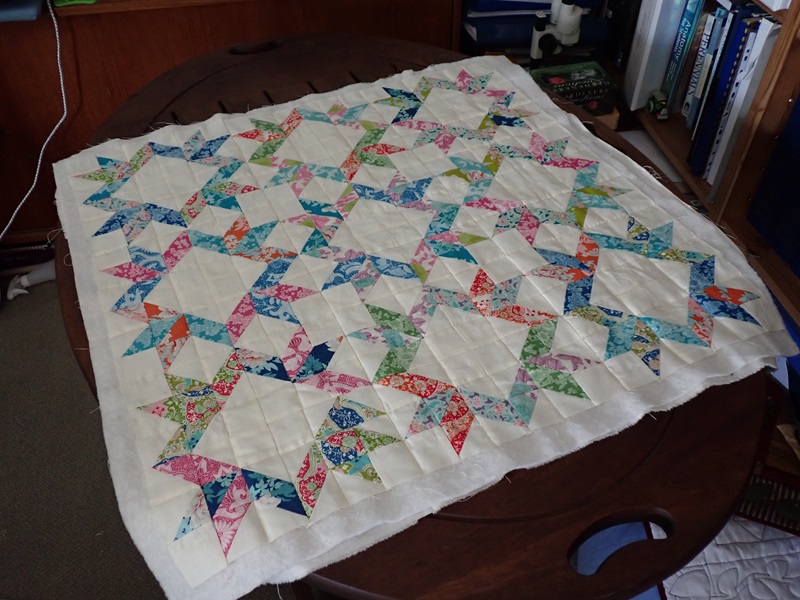
The next attempt was the kit for the table centre.
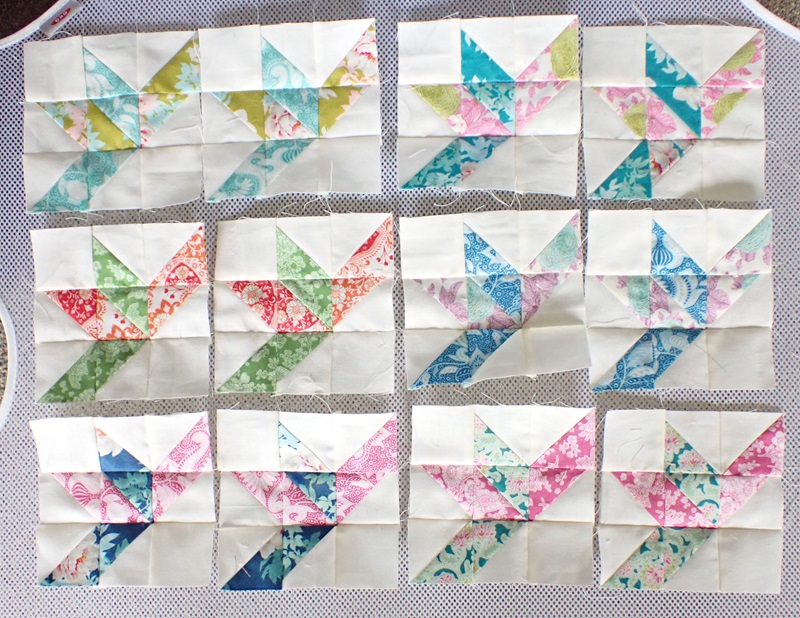
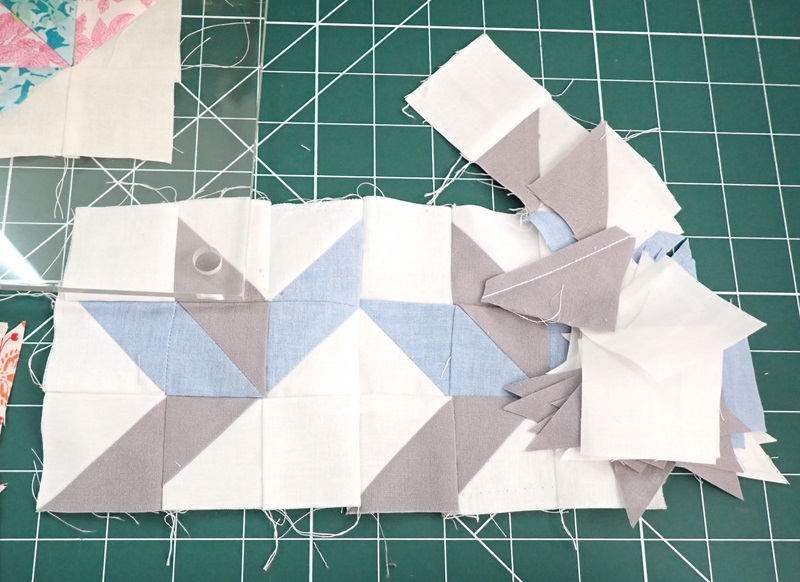
First challenge was that the squares of fabric (they call them "charms") had pinked edges so trying to cut four squares 2 3/8" out of it was a challenge. I actually ignored the extra pinked bit and am cutting it off as I go along. Cut each in half diagonally and you get triangles. Lets be honest it takes as long cutting out the 500+ triangles and 80 squares as the stitching...
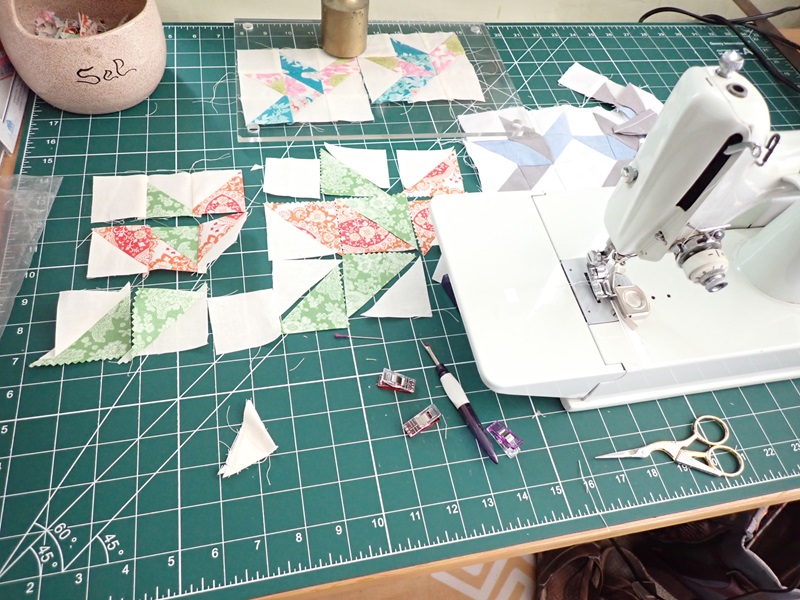
Armed with the lack of confidence from messing around with the bits of sheet I am stitching these carefully. The good news is in the background I have pieced together 2 blocks successfully (at the back under a sheet of Perspex with the weight on them). To the left is my next set. The trick is to join each of the pieces systematically triangles to triangles to make squares (cut off the pinked edge at this point and square up if required ), join three squares to make each row and finally three rows together to make a block. What could go wrong

Some idiot sews the pieces together the wrong way, having sewn them the corners don't match, the pieces are not square or the block between two sewn joints is too narrow/wide to match the bits either side. The trick is the measure, measure and measure again.
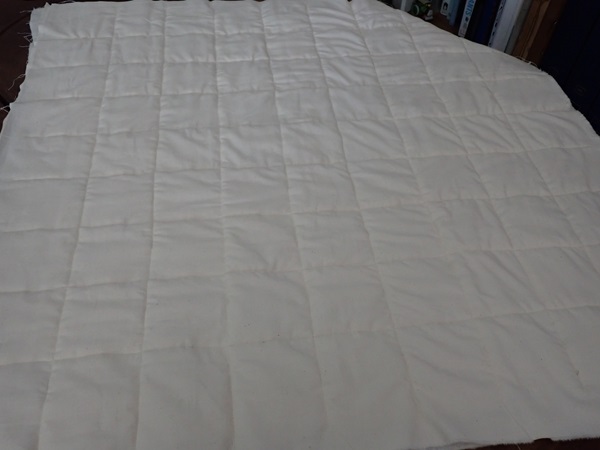
I had found a piece of 1mm thick wadding for this thinking I don't want this too thick but with the thick lump that exists in the corners it will need to be much thicker.
Back to cross stitching

Jo